Experience our new Lafayette showroom — Now Open! Come Visit Us -->

How to Mount a TV to a Stand: A Lucas Furniture Guide

A new entertainment center is in place, the TV box is open, and the last step is the one that makes the whole room feel finished. For many homeowners shopping a furniture store near Lafayette IN, that final step isn't wall mounting at all. It's learning how to mount a TV to a stand safely, cleanly, and without turning a simple setup into an all-day project.
That matters in Lafayette, IN, where many households want a polished setup without drilling into living room walls. The main showroom in Kokomo serves Lafayette with dependable in-home delivery, which makes it easier to get the right stand, sectional, mattress, or entertainment piece home in one trip. A primary benefit for those choosing a Lafayette furniture store is selecting furniture that looks good and makes setup straightforward.
A stand-mounted TV can be the better fit for renters, families who rearrange often, and anyone who wants storage built into the room. It also pairs well with a broader refresh, whether that's a new reclining sectional, a custom order media console, a mattress upgrade after a long move, or a clearance find that frees up budget for the rest of the house. Getting the TV mounted correctly is the first job. Getting the room to work well comes right after.
Your Pre-Mount Checklist for a Perfect Setup
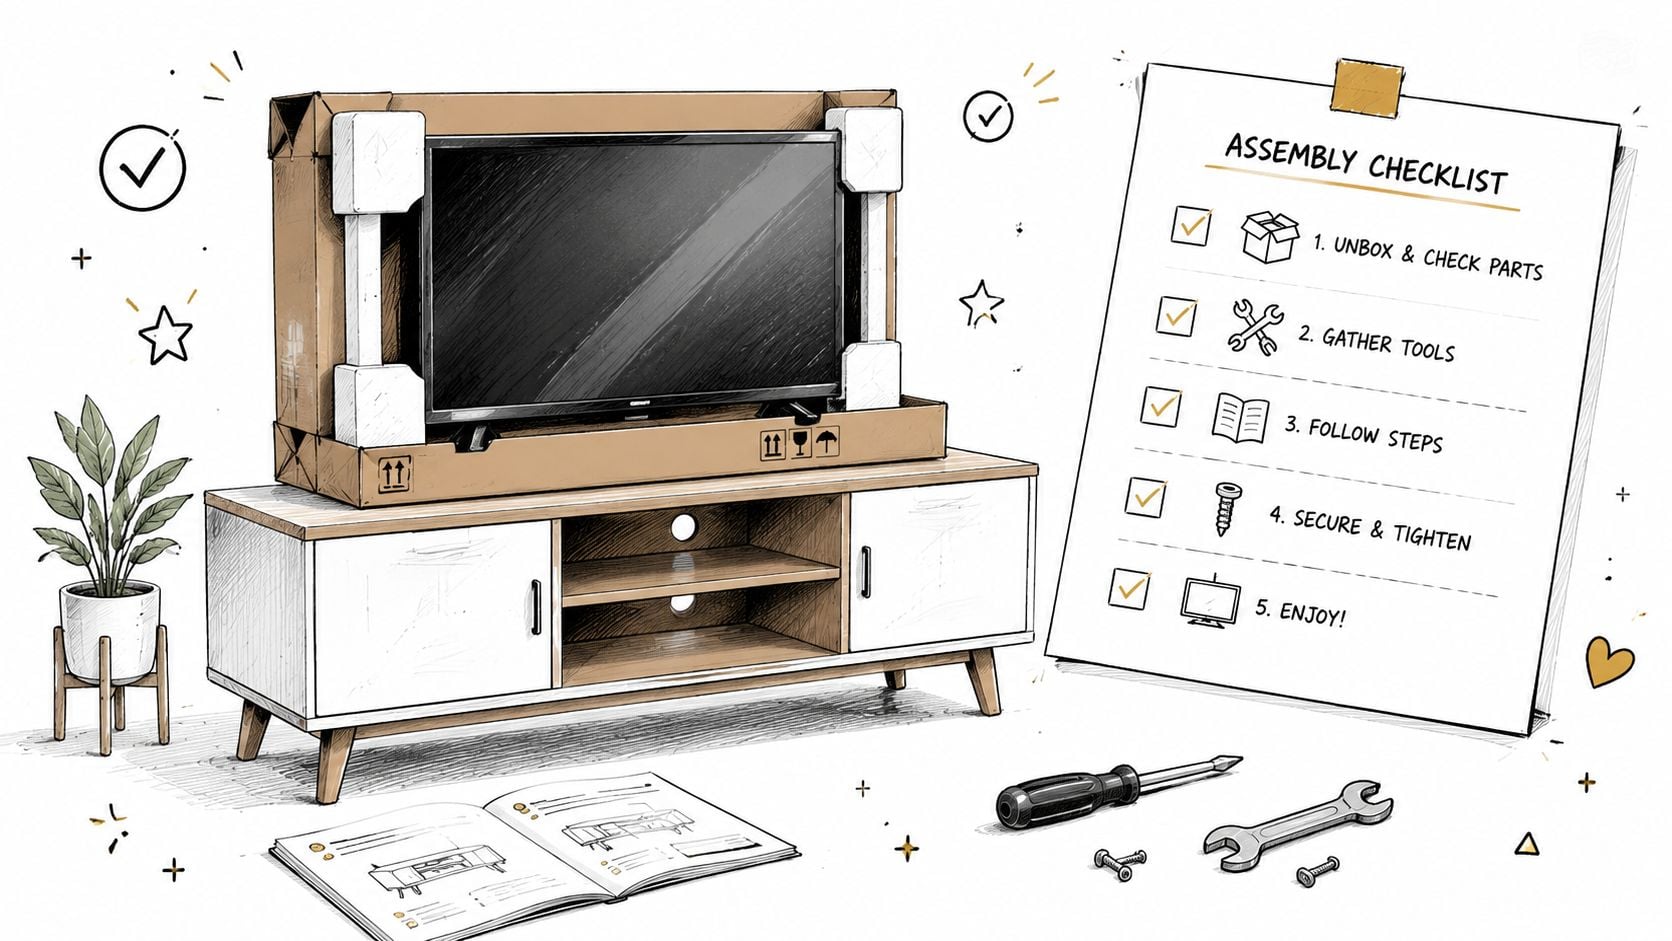
A stand-mounted setup starts with preparation, not lifting. The job is usually simpler than wall mounting because it uses the stand's built-in structure instead of locating wall studs spaced at 16-inch increments for a wall installation, as described in Consumer Reports' wall-mounting guidance. For a stand, the work is mostly alignment and fastening, which means most households won't need stud finders or ratcheting socket wrenches.
Start With the Room, Not the Hardware
Before any bracket comes out of the box, place the stand exactly where it should live. Check sightlines from the main seat, allow room for doors or drawers to open, and make sure nearby outlets are easy to reach. A mounted TV often looks centered from one angle and off-balance from another, so this step saves time later.
If the floor is hardwood, tile, or another finish that marks easily, protect it. A simple layer of cardboard works, but many movers prefer padded protection. For households that want better coverage while assembling and positioning furniture, it's smart to buy heavy-duty removal blankets so the stand, screen, and flooring stay protected during setup.
Check Compatibility Before Anything Gets Tightened
A clean install usually comes down to four checks:
- Bracket pattern: Confirm the TV's mounting holes line up with the stand bracket.
- Included screws: Use the hardware packaged for the mount or the TV, not leftover screws from another project.
- Stand design: Make sure the upright and bracket height won't block shelves, décor space, or soundbar placement.
- Centering: Measure the stand's visual center before the screen goes up.
For homeowners choosing a console or entertainment center, this TV stand shopping guide is a practical place to evaluate storage, scale, and layout before installation day.
Practical rule: Open every hardware bag and compare parts before lifting the TV. Missing spacers or mixed screws cause more setup delays than the bracket itself.
Keep the Tool List Short
Most stand mounts don't require a long list of specialty tools. A basic setup often calls for:
- A screwdriver: Match the screw head exactly so the hardware doesn't strip.
- A level: This catches slight bracket drift before the TV's weight exposes it.
- A soft surface: A blanket or padded rug protects the screen when the TV is laid face down.
- A second person: Not always mandatory, but strongly recommended for control and alignment.
This is where stand mounting shines. It doesn't ask the average homeowner to turn the living room into a construction zone. It asks for patience, careful alignment, and enough room to work without rushing.
The Core Mounting Process From Box to Stand
The safest approach starts on the floor, not in midair. The bracket should go on the TV first, while the screen is supported on a soft surface. According to Aliving Home's stand-mounting guidance, the critical process is to pre-attach the VESA-compatible bracket before lifting, use the specific screw length provided, and avoid overtightening because that can damage internal components.
Prepare the TV Carefully
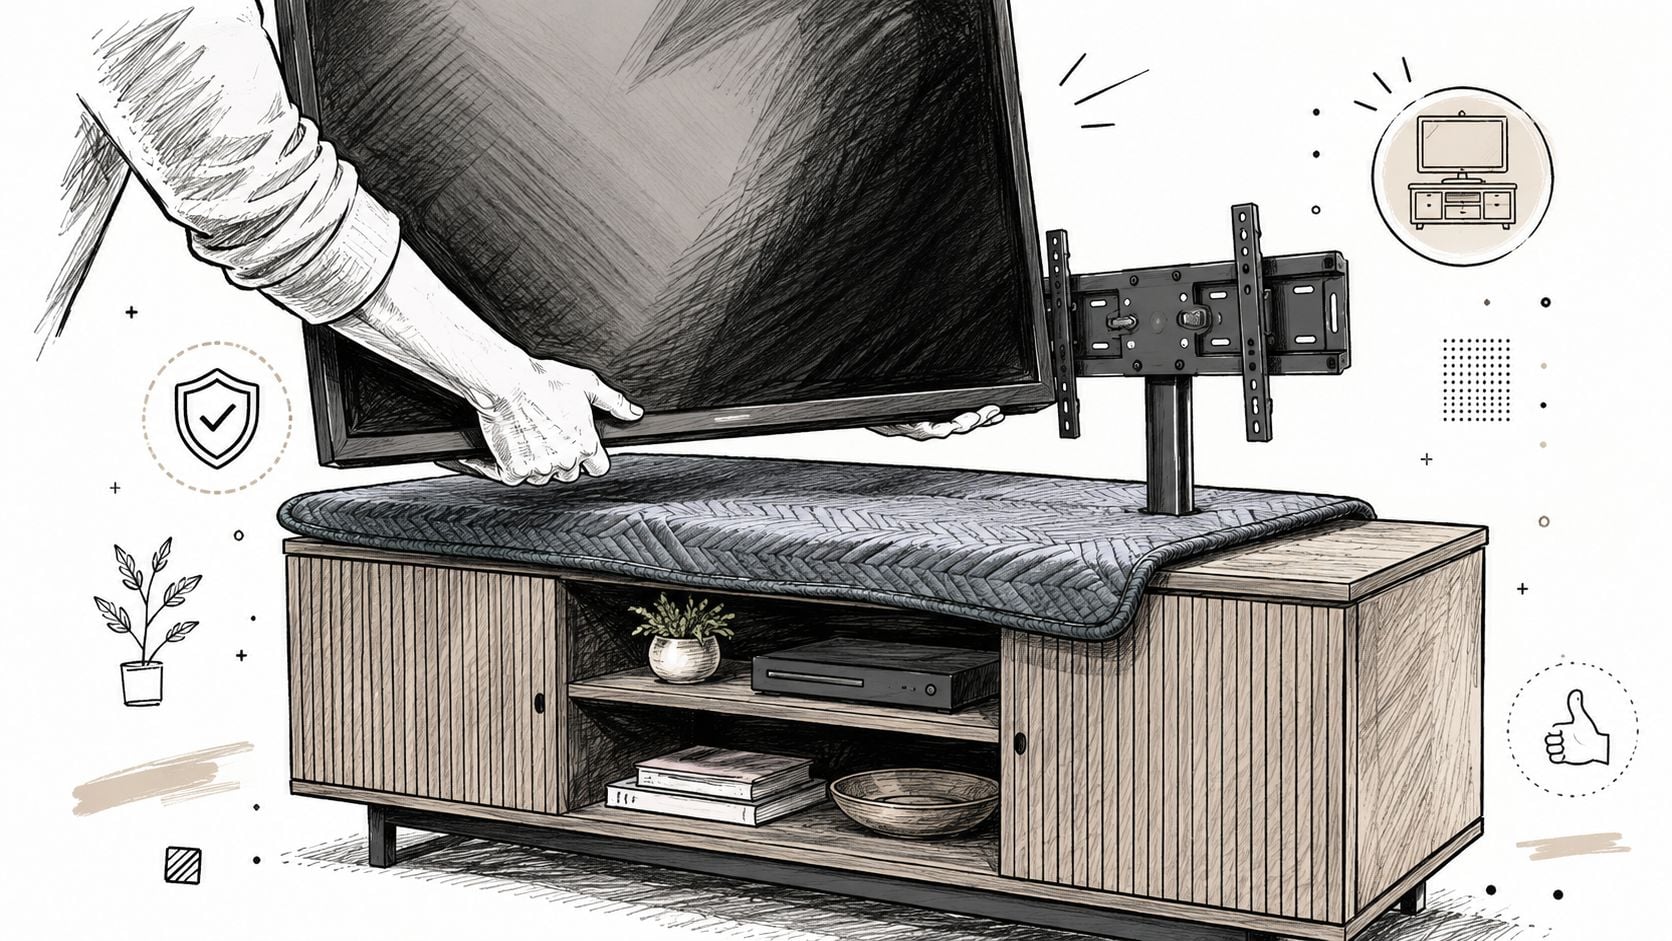
Lay the TV face down on a padded surface. Remove any tabletop feet if they're still attached, then line up the vertical bracket rails with the mounting holes on the back of the TV.
Work slowly here. The correct screws should thread in smoothly. If a screw resists immediately, back it out and recheck the match. Forcing the wrong length or thread can cause damage that won't show until the TV is hanging.
A good tightening standard is firm but not rigid. The bracket needs to sit snug against the back of the TV without crushing the housing.
If the screw keeps turning after the bracket feels seated, stop. More force won't make the mount safer.
Get the Upright and Plate Ready
With the TV bracket attached, assemble the stand's upright support and mounting plate according to the stand instructions. Before lifting the screen, make sure the stand itself is level and sitting flat on the floor. A slight twist in the base can show up as a crooked TV even when the bracket is installed correctly.
This is also the moment to confirm the screen height. A TV that's technically mounted right can still feel wrong if it sits too high over the console top or crowds the room visually.
Lift, Hook, and Level
This part goes best with two adults. One person lifts and steadies the screen while the other guides the bracket rails onto the stand plate or hooks. Move deliberately. Fast installs create misses, scraped finishes, and unstable seating.
Once the TV is seated, don't let go immediately. Aliving Home notes that alignment should be checked with a level against the stand's center point because even 2 to 3mm of misalignment can create visible lateral wobble when the TV's weight is applied in a stand-mounted setup.
A simple finishing checklist helps:
- Confirm both bracket sides are fully engaged.
- Check level across the top edge of the TV.
- Tighten any locking screws or safety tabs on the bracket.
- Apply slight side-to-side pressure to test for movement.
What Works and What Doesn't
A few habits separate a stable install from a frustrating one.
- Works well: Pre-sorting hardware, protecting the screen, and leveling before final tightening.
- Usually fails: Guessing on screw length, lifting before the bracket is attached, and assuming "close enough" is level.
- Worth the extra minute: Stepping back across the room before locking everything down. Small shifts are easier to spot from the sofa than from two feet away.
That process is the heart of how to mount a TV to a stand. It isn't difficult, but it does reward careful hands.
A Critical Safety Step Anchoring Your Furniture
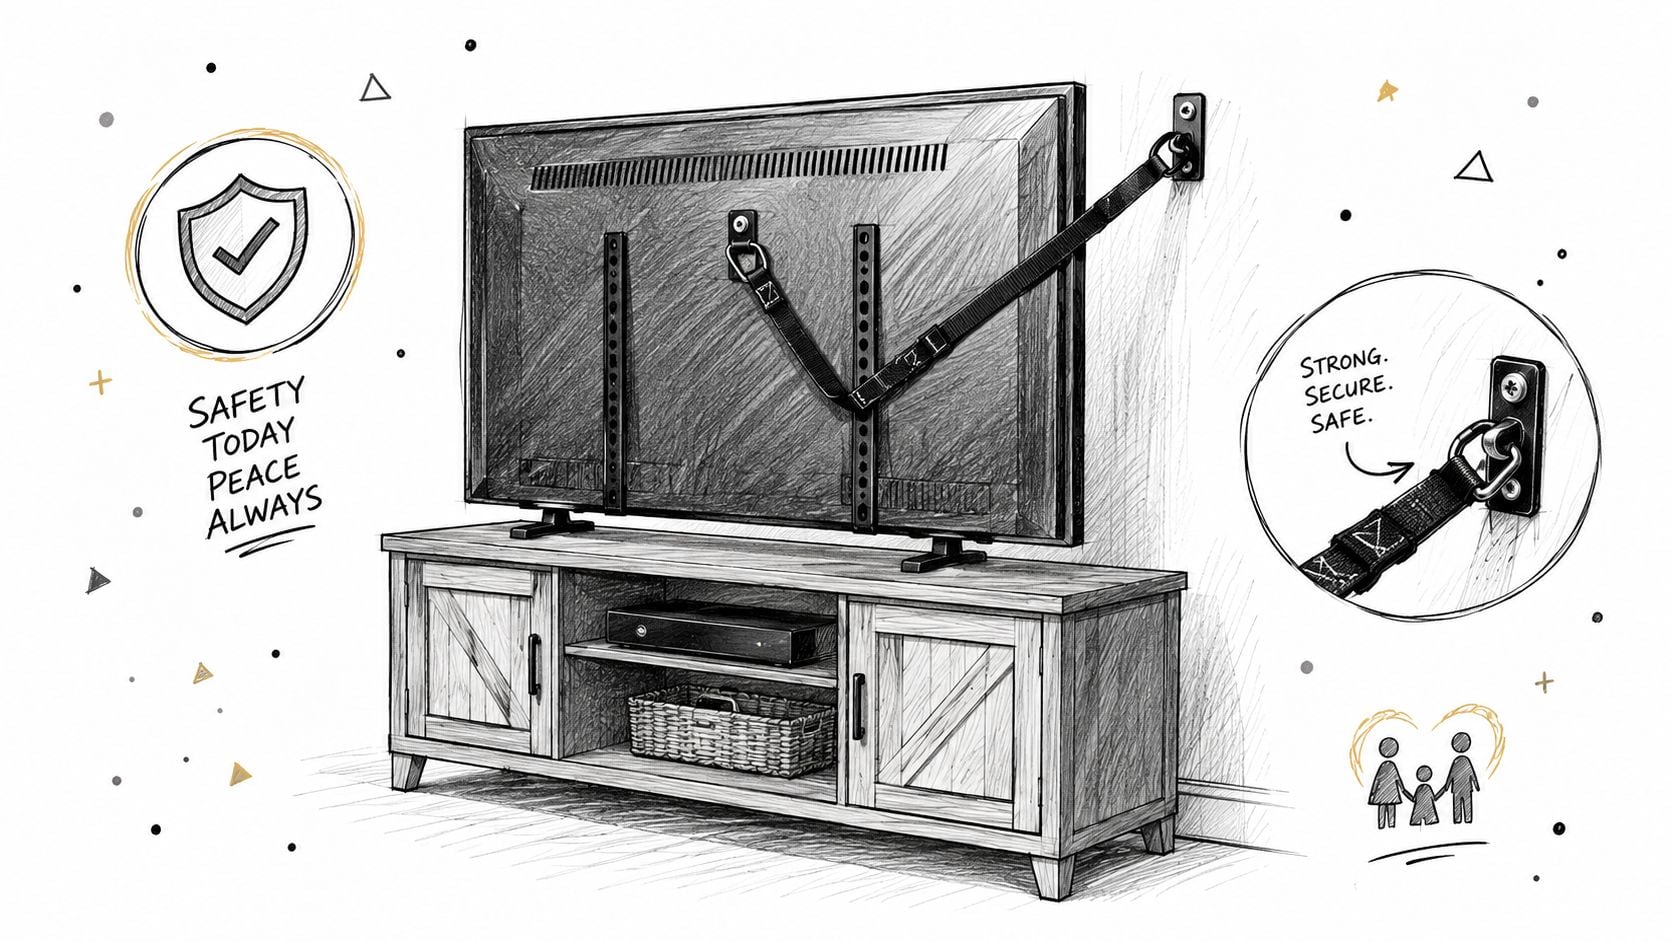
Securing the TV to the stand is only half the job. The stand itself needs to be anchored to the wall. Many DIY guides skip that point, but Aliving Home's safety guidance warns that stand-specific instructions often omit this step even though furniture tip-overs are a leading cause of injury for children.
Why This Step Isn't Optional
A mounted TV raises the room's center of attention, but it can also change how weight and force travel through the furniture. A child pulling up, a pet jumping, or someone grabbing the edge while reaching behind the console can turn a stable-looking setup into a tip hazard.
This matters even more with larger entertainment centers, taller media chests, or stands placed on slick flooring. Anchoring the furniture to the wall adds a second layer of safety that the bracket alone can't provide.
A secure screen on an unsecured stand still isn't a safe setup.
How to Anchor the Stand
The process is straightforward:
- Locate a stud: Use a stud finder or another reliable method to find solid backing in the wall.
- Attach the anti-tip hardware: Fasten the strap or bracket to the furniture at the recommended attachment point.
- Secure to the wall stud: Anchor the wall side into the stud, not just drywall.
- Tighten without shifting the furniture: The strap should remove slack while allowing the piece to sit naturally.
For households with young children, this broader guide to making furniture safe for kids adds practical room-by-room safety ideas beyond the TV area. Another useful reference for wall attachment basics is this guide on attaching a headboard to a wall, which helps illustrate why proper anchoring matters whenever heavy furniture sits against drywall.
The common mistake is treating anchoring as optional because the stand feels heavy enough already. Weight alone doesn't prevent tipping. A wall anchor does.
Finishing Touches Professional Cable Management
A solid mount can still look unfinished if cords spill out behind the stand. Good cable management cleans up the room fast, and it also makes future device swaps easier. That matters when a setup includes a streaming box, game console, soundbar, modem, or a charging station tucked into the cabinet.
Use the Stand's Built-In Features
Many modern entertainment centers include rear cutouts, pass-through openings, or channels built into the back panel. Use those first. They guide cords where they belong and keep wires from sagging behind open shelving.
When the stand has multiple compartments, route cables by function instead of bundling everything together. Keep power cords on one side where possible, and group signal cables separately so tracing connections later doesn't become a guessing game.
Keep the Back View Orderly
A neat result doesn't require expensive accessories. Most households can get there with a few basics:
- Velcro straps: Better than permanent ties when components change often.
- Zip ties: Useful for longer runs that won't need frequent adjustment.
- Cable sleeves: Helpful when several wires travel down one visible path.
- Label tags: Small labels save time the next time the TV or console gets replaced.
Clean cable routing does two jobs. It improves the look of the room, and it makes troubleshooting simpler when one device suddenly stops connecting.
Leave Slack Where It Counts
The one mistake that shows up repeatedly is pulling every wire tight. Cables need a little slack near the TV and behind devices so ports aren't stressed when something gets shifted for cleaning or service. Too much slack looks messy. No slack can pull a cord loose or strain a connection.
For more layout inspiration once the wires are hidden, these entertainment center ideas for the living room can help tie the screen, storage, and styling together. Once unified, the setup transitions from an assembled look to a designed aesthetic.
Beyond the Stand Completing Your Lafayette Home
A finished TV setup often makes the rest of the room stand out. Sometimes that's a good thing. Sometimes it makes an older sofa, crowded layout, or mismatched accent pieces impossible to ignore. That isn't a problem. It's usually the point where homeowners start seeing the room as a whole instead of as separate purchases.
The Living Room Usually Comes Next
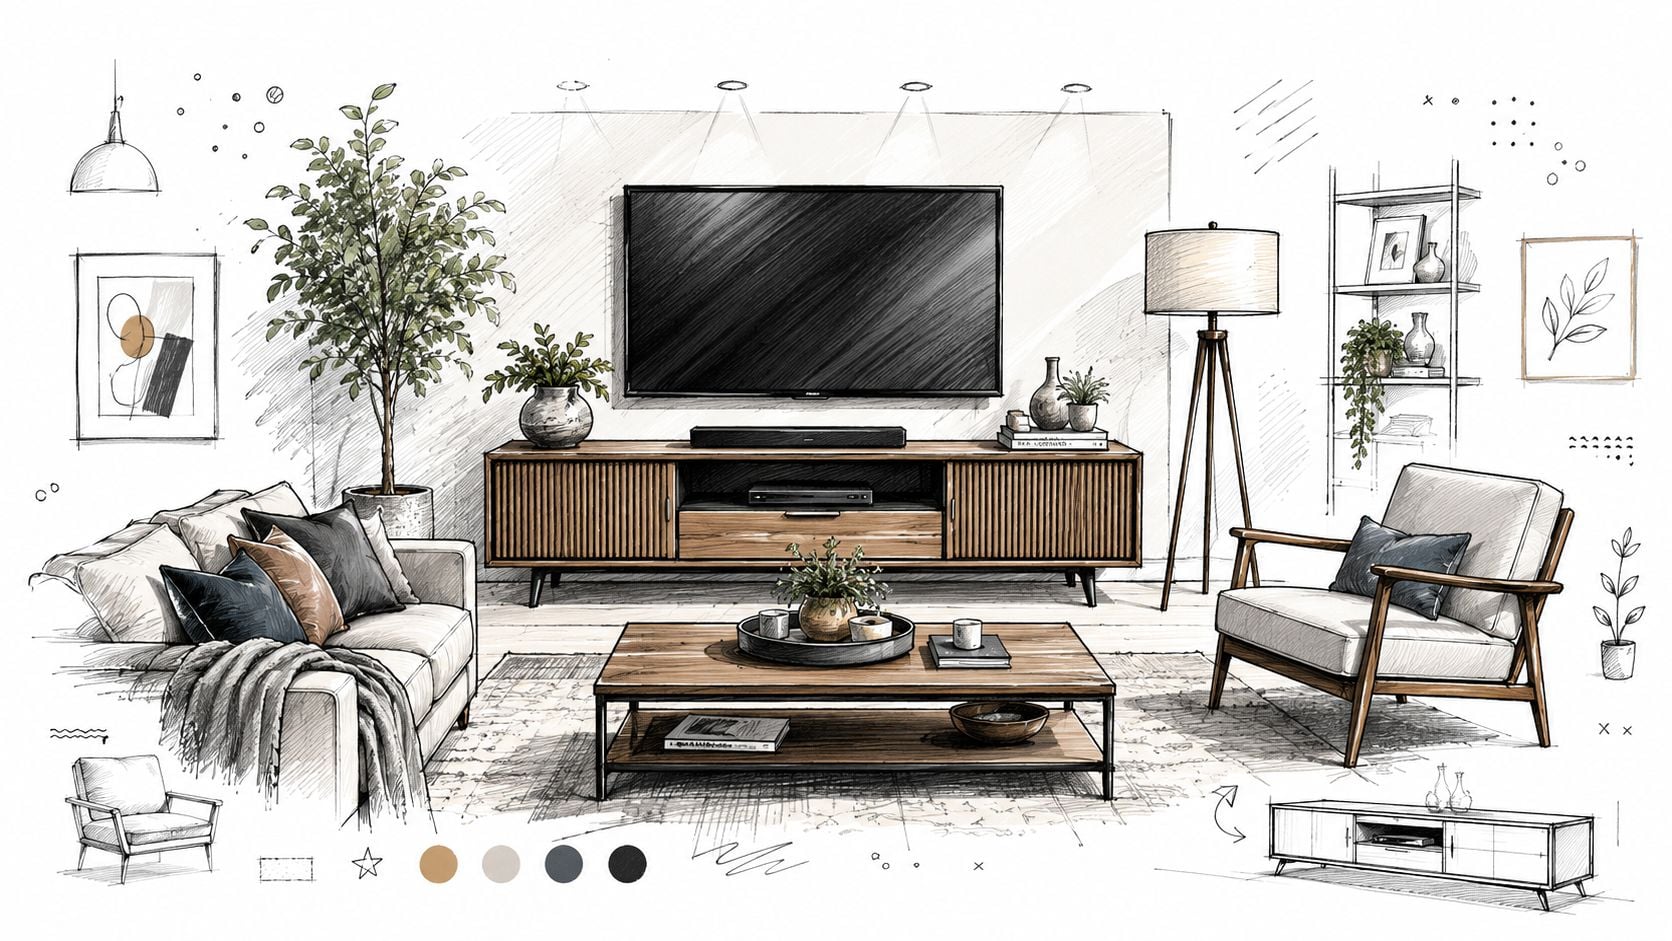
A stand-mounted TV changes how the seating area works. Once the screen is centered and at the right height, the sectional, recliner, or accent chair arrangement needs to support that focal point. If sightlines are awkward, even a perfect mount won't make movie night feel right.
That often leads to a broader checklist:
- Sectional comfort: Enough seating for the household without crowding the walkways.
- Storage balance: Media consoles, side tables, and bookcases that don't overpower the TV wall.
- Traffic flow: Clear paths around the coffee table and into nearby rooms.
- Lighting control: Lamps and window glare that don't compete with the screen.
For households reworking the whole room, this guide on how to arrange living room furniture helps translate a successful TV setup into a more comfortable floor plan.
Better Sleep Still Matters After a Setup Day
Furniture projects tend to reveal other priorities fast. A living room refresh often turns into a bedroom upgrade, especially after a long day of assembly, lifting, and rearranging. That's where a better mattress enters the conversation. A supportive sleep setup affects the next morning more than most decorative changes ever will.
Homeowners in Central Indiana also tend to shop with a full-home mindset. A new entertainment center can lead to a dining set, a home office desk, or seasonal outdoor furniture for the patio. Some want a custom order fabric to match an existing sectional. Others are focused on clearance value and want the room finished without overspending.
Value Is Usually a Whole-Home Decision
The strongest rooms don't come from buying everything at once or forcing a matched suite into every corner. They come from making smart decisions in sequence. Start with the anchor piece. Finish the TV setup. Then update the pieces that affect comfort every day, like seating, storage, and the mattress in the primary bedroom.
That approach gives homeowners more flexibility with style, timing, and budget. It also makes simple financing more useful because it supports a plan instead of a rushed purchase. The result feels lived in, not staged.
Why Choose Lucas Furniture? (Our Value Proposition)
For shoppers looking for a Lafayette furniture store, the biggest advantage isn't only product selection. It's having a nearby team that serves Lafayette from Kokomo with practical solutions for real homes, from entertainment centers and sectionals to mattress choices, outdoor furniture, and home office pieces. That local connection matters when a room needs more than a quick online order.
Why Local Shoppers Keep It Simple
A strong furniture experience usually comes down to four things:
- Value that holds up: A Low Price Promise gives buyers more confidence when comparing options for living room, dining, and bedroom furniture.
- Flexibility when style matters: Custom order options help households choose configurations, finishes, and fabrics that fit the room instead of settling for almost right.
- Convenience that saves time: Reliable in-home delivery to the Lafayette area means larger pieces arrive without the usual logistics headache.
- Budget options with range: Simple financing helps buyers furnish now and pay over time when a full-room refresh can't wait.
For a closer look at what sets the store apart, our advantage outlines the service approach in more detail.
Furnish Every Room and Save Big
Value-conscious buyers in Central Indiana usually aren't shopping for one category alone. The same household looking for a TV stand may also be considering a sectional for movie nights, a dining set for a growing family, a bedroom refresh, or a desk that finally makes the home office functional.
Savings make a difference here. The outlet and clearance side of the business can offer up to 70% off on select pieces, which helps stretch the budget across more than one room. That makes it easier to pair a new entertainment center with an accent chair, storage piece, or even seasonal outdoor furniture without blowing the plan.
Achieve Better Sleep With Better Mattress Options
A complete home isn't just about what looks good in the living room. It also needs to sleep well. A dedicated mattress selection helps buyers compare comfort levels and support preferences in one place, and the Mattress Guide gives shoppers a useful starting point when they aren't sure what feel they want.
Locally owned stores earn trust by helping people make the right fit, not just a fast purchase. Strong customer reviews reflect that kind of steady service. For Lafayette households that want to shop online, visit the Kokomo showroom, explore clearance, ask about custom order pieces, and schedule delivery, that combination is hard to beat.
Visit Lucas Furniture & Mattress if you're looking for a trusted furniture store near Lafayette IN with a Kokomo showroom, strong local service, simple financing, custom order options, mattress guidance, clearance savings up to 70% off, and guaranteed in-home delivery to the Lafayette area.